At the time of writing, in November 2024, setting up a local VPS on a MacBooks powered by Apple silicon chips requires preparation and setup.
In this tutorial we will go through the steps needed to provision Debian Linux virtual machines on MacBook Pro with Apple silicon.
I use VPS servers to run multiple applications.
Staging and production environments in the most cases use cloud platforms (like DigitalOcean or Hetzner), where I deploy number of virtual private and dedicated servers.
However, for the development and playground environments my preference is to use my development MacBook Pro, which has plenty of computing power in it.
For MacBooks powered by Apple silicon chips (M1/M2/M3..) the setup of such local VPS environment needs a few steps.
This tutorial walks you through the setup I use to run local VPS instances with Vagrant, VMware and plugins.
Tools
I'm using the following tools.
Vagrant - a tool which allows creation of reproducible virtual environments and maintain configurations in simple file.
VMware Fusion - is a desktop hypervisor which supports MacBook hardware with both Intel and Apple chips. It's free for personal use.
Another popular option for desktop hypervisor is VirtualBox but currently it's lacking support for Apple silicon chips.
Homebrew which is a great package manager for macOS. Helps to take control of what you have installed on your development machine.
1. Install VMware Fusion
As first step, we will install VMware Fusion.
VMware Fusion is a commercial desktop hypervisor for macOS. With a good support for with Apple silicon. Its free for personal use.
Go to VMware download site and sign up / download / install.
2. Install Vagrant
Next, install Vagrant.
Vagrant is built and distributed as binary package for different platforms. The official downloads page has a list.
I use Homebrew. After install completes, you will have vagrant CLI command at your disposal. See the below:
brew tap hashicorp/tap
brew install hashicorp/tap/hashicorp-vagrant
vagrant -v
vagrant -h
3. Vagrant provider for VMware
Next, we have to connect Vagrant to VMware Fusion.
Makers of Vagrant, maintain an official Vagrant provider for VMware.
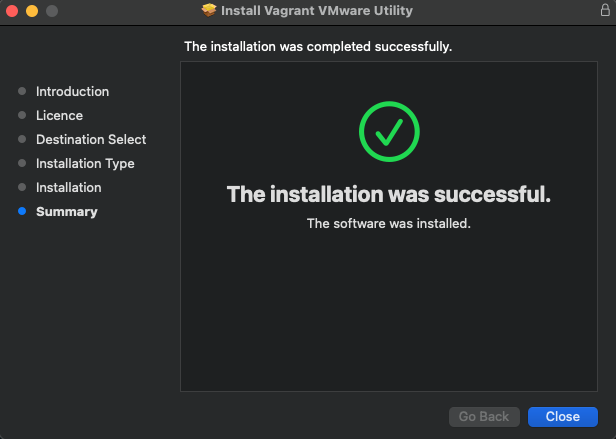
Installation of the Vagrant VMware provider has to be done in two steps. First, download and install Vagrant VMware Utility from the official page.

Second, we will install Vagrant VMware provider plugin via vagrant CLI itself.
vagrant plugin install vagrant-vmware-desktopOnce above steps are completed, we are good to create local VPS servers.
4. Provision VPS on your Mac
Creating new VPS is relatively simple.
There are large number of public images (or Vagrant boxes) available on Vagrant Cloud. We will use bento/debian-12-arm64 for this tutorial.
Create a dedicated directory on your machine. Run the following Vagrant init command which will create you a simple Vagrantfile in that directory. And finlay vagrant up will start your VPS.
mkdir vagrant-test
cd vagrant-test
vagrant init bento/debian-12-arm64 --box-version 202404.23.0
vagrant up
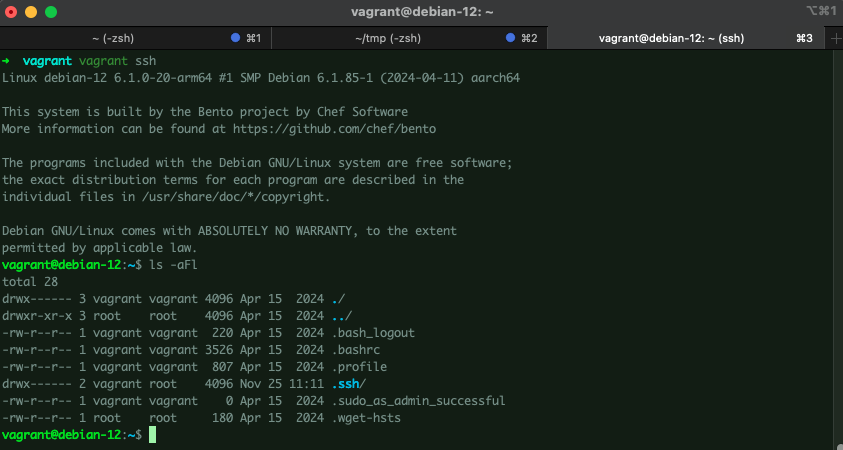
vagrant ssh
Once you finished using the VPS, simply run vagrant destroy. Next time, vagrant up will build you exactly the same VPS.
Use vagrant ssh to connect to VPS via ssh client

5. Configuring VPS
Within Vagrantfile you can provide specific configurations which will be applied to your VPS.
Its a good option as you can pre configure VPS and get this applied every time you start it by Vagrant.
In the next tutorial part I'm going to create summary of popular configuration options.